|
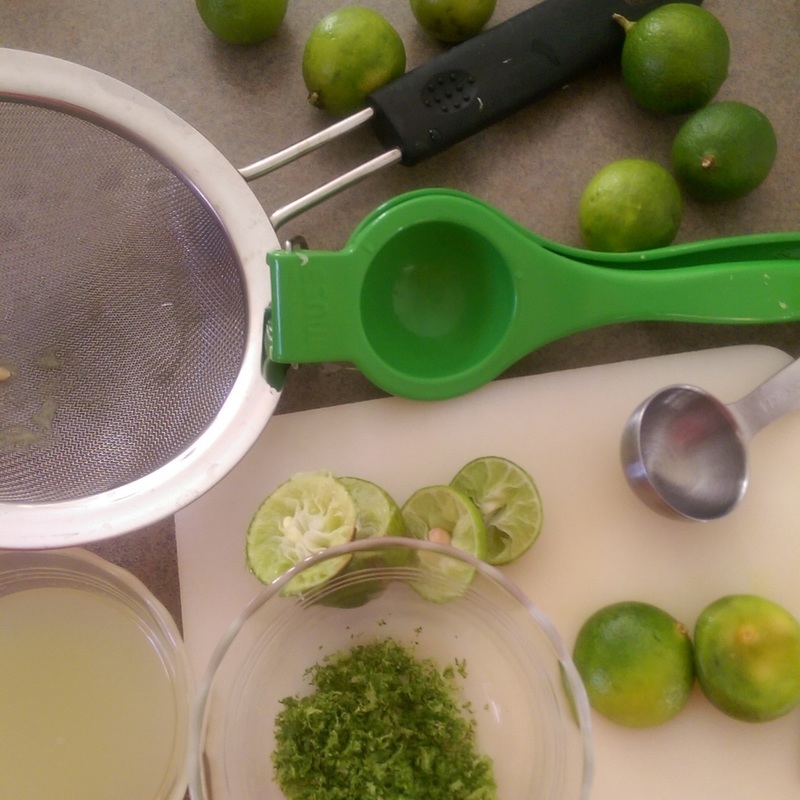
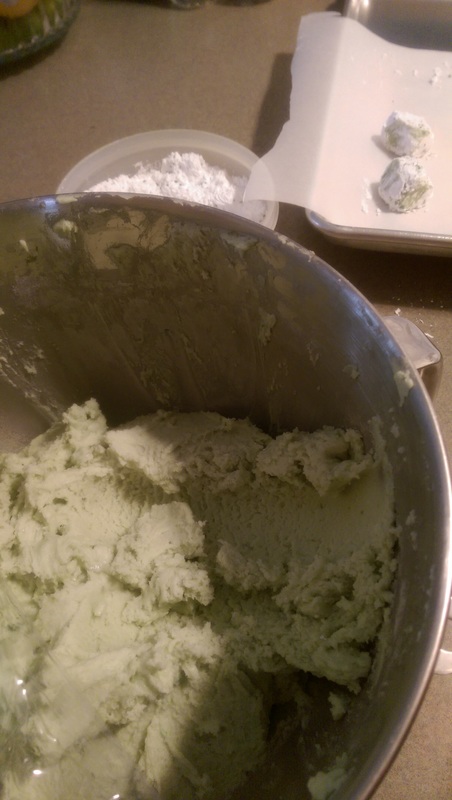
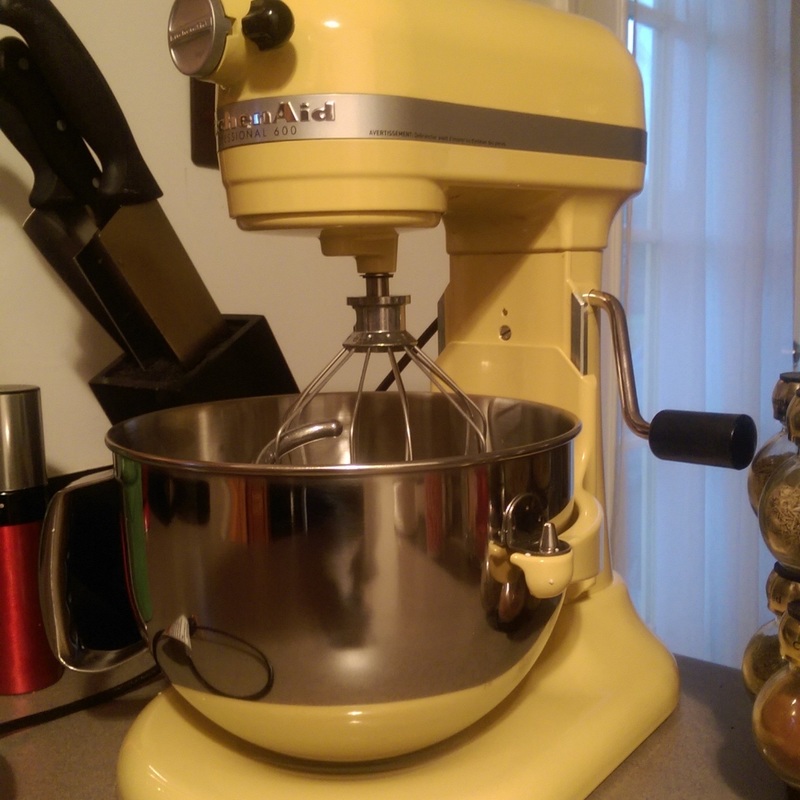
Hi, Friends! It's a new year and I haven't posted in a month! I really let December get away from me! My twin sister and I went on vacation, something we do for our birthday every December, and of course there is always lots to do between Thanksgiving and Christmas! I hope you all had great holidays! There are some funny stories behind my baking adventures. I made a couple of dishes for my sister's Christmas office party, and also for our Christmas dinner at our friend Gail's house. This could be a learn what not to do blog, or, how to make something out of a big mess! I had a lot of fun, regardless, while baking, cooking, and learning new things. I share the stories with the appropriate pictures. I also got to spend a couple of days with Sawyer, so there are a few pictures her parents took and some I took. She gets more beautiful every day! 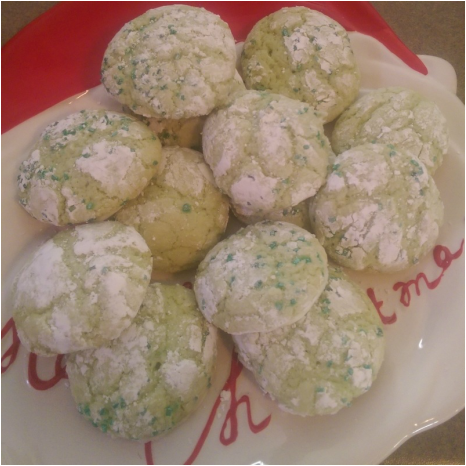 Key Lime Crackles! These are my first "crackle" cookies. These are key lime cookies I found in the Christmas Food Network magazine. Last year I saved a red velvet version off the internet, so I had this grand idea to make lots of these red and green cookies for everyone I loved. But life gets in the way. I began prepping for these cookies and then I had to put them off for a couple of days. It turns out that zest doesn't keep it's flavor very long; the cookies didn't have enough key lime flavor after the delay. So, I took an idea from The Pioneer Woman, Ree Drummond. It was something she did when making Pretzel Turtles. I melted white melting wafers (I like Ghiradelli White Melting Wafers) and mixed in lots of fresh key lime zest, put dollops on a sheet pan layered with wax paper, and placed the cookies on the dollops and let them set. I must say, those were some beautiful, delicious cookies, with lots of citrus flavor! I think I'll keep that idea. Click on the picture for the basic Key Lime Crackle recipe. As a bonus, here's the link to The Pioneer Woman's Pretzel Turtles recipe. http://thepioneerwoman.com/cooking/pretzel-turtles/ I haven't made these yet, but they are in my "mental queue". 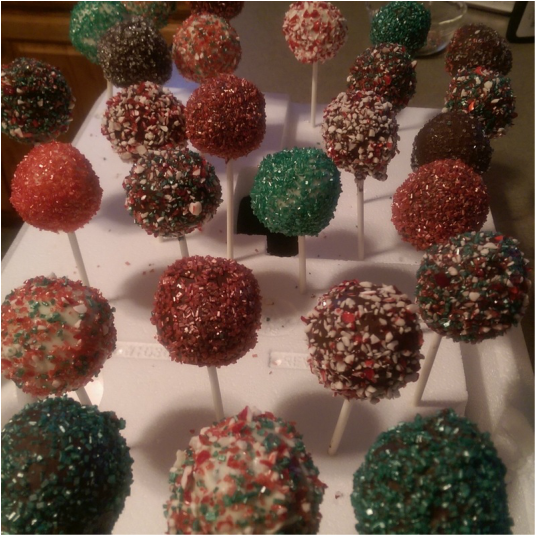 Christmas Cake Pops! These beautiful glittery cake pops were a delicious surprise! I had in my mind for a while that I wanted to make a fudge and praline cake, and I found this 2005 recipe from Southern Living: New Orleans Double Chocolate Praline Fudge Cake. Could that sound any better or more delicious? Now let me say, I don't do a lot of baking. The last layer cake I made was in culinary school and I had a wonderful chef instructor in baking class (it was a devil's food cake with dark chocolate icing; it was delicious, too! I'll share that recipe another time). I like Bundt cakes, because you use only a couple of bowls, one pan, pour or drizzle icing on top. Done. Well, almost. I put a three, 8" inch layers cake recipe into a 10" Bundt pan. I'm not sure if I didn't grease the pan well enough, or I didn't allow the cake to cook long enough because a Bundt cake will take almost twice as long, or I didn't allow it to cool long enough before I tried to take it out of the pan. It looked good and it pulled loose from the sides of the pan, but unfortunately, only the part I could see. Fortunately, I had seen a baker on television make cake pops from scraps of layer cake she had in her bakery, so this failed attempt at a Bundt cake did not go to waste! See, it's not bad to watch hours of Food Network! So, whatever I did wrong (I think it was the cooling part because I'm not the most patient person in the world), it resulted in delicious and beautiful cake pops. Here's what you'll need:
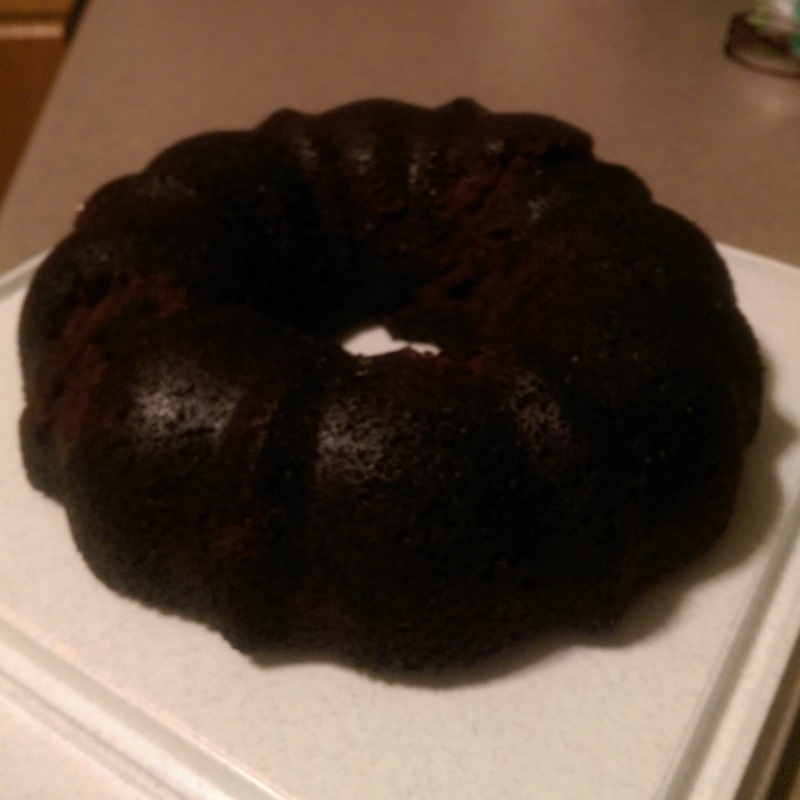
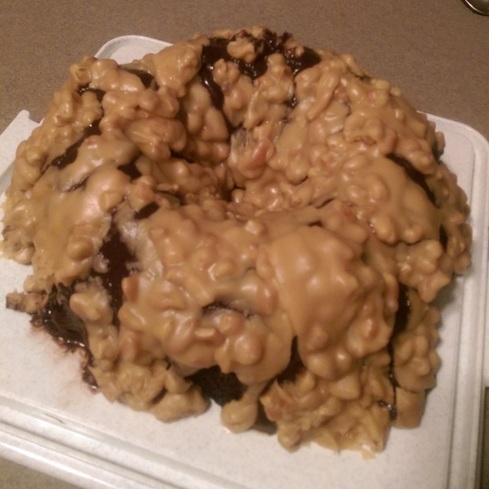 New Orleans Double Chocolate Praline Fudge Cake! And now, for the main attraction! I took the same cake recipe and the same Bundt pan. The only two things I did differently was I greased and powdered (with cocoa powder) the Bundt pan even more thoroughly, and when the cake came out of the oven I left it in the pan on top of the baking rack to cool and didn't touch it until the next day. Click on the picture for the printable recipe. It looks lengthy and it's in a Word document, but it actually has a lot of commentary, because I adapted the recipe from Southern Living so I noted my adaptations. I also noted my experiences that you may learn from if you're interested and I will have made this recipe a lot easier for you the first time than it was for me. It was worth all the effort, believe me! You will have a lot of happy people on your hands with this one! 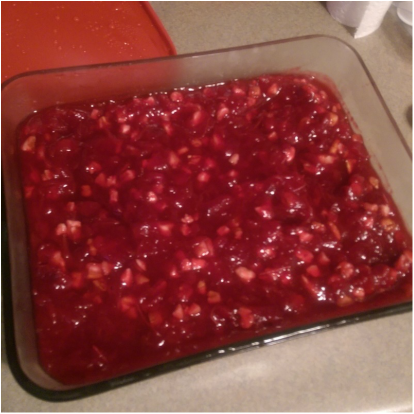 Homemade Cranberry Sauce! Isn't that a beautiful red dish? Here's a little bit of tanginess (sounds better than acidity) to offset all of the sweetness in this post, even though it does have sugar in it. Taste the cranberry sauce as you go along to make it sweet to your liking. Add toasted pecan pieces to make it a truly elegant dish! I made this for Christmas at our friend Gail's. Ingredients:
And now, as promised, Sawyer! Her pets are on here, too. Callie has the darkest ears. Chloe looks huge in her picture, but she's not, she's small like Callie. I still have more holiday goodies to share with you, Friends! My sister, Janise, and my cousins, Amy and Jeff, celebrated New Year's Eve together. Stay tuned for Part 2 of this blog to see and read about all the goodies we had to celebrate, including my new favorites, Korean-Style Hot Wings!
The blog has some new features but I don't know what all of them are yet. One of them is a search feature. If it works you can find the dressing I made for Christmas because I posted it on the Thanksgiving blog. I also made some Jumpin' Jack Jalapeno Cheese for Sawyer's parents. That recipe is in a previous post. If the search feature doesn't work I'll have to figure it out, but I hope it works. The box is at the top right of the page. Happy New Year from Dished With Love! Denise P.S. There's not much healthy about this post, but that comes along after the holiday blog, Part 2, is finished!
4 Comments
|

Denise ClarkA place to share my favorite things...friends and food, dogs, college football, and my inspiration, Sawyer, the most beautiful little girl in the world! CategoriesArchives
December 2022
|

 RSS Feed